Computer Turns On But No Display? 12 Fixes That Actually Work
Your computer turns on but there is no display: fans spin up, lights come on, drives hum — and the screen stays stubbornly black. It’s one of the most alarming PC problems because you can’t see anything to diagnose it. But here’s the reassuring truth: a PC that powers on with no display is very often fixed by something simple — a loose cable, a wrong input source, or a RAM stick that needs reseating.
This guide walks you through 12 fixes in order, from 30-second checks to deeper hardware diagnostics. Don’t skip the “obvious” steps; they resolve this issue more often than everything else combined.
Computer Turns On But No Display: Confirm What’s Actually Happening
Before touching anything, observe carefully for 30 seconds:
- Do fans spin and lights turn on? Then the PC is getting power — the problem is the display chain (monitor, cable, GPU, or boot process).
- Do you hear beeps? Those are beep codes — your motherboard telling you exactly what’s wrong (more on this in Fix 9).
- Does the monitor show “No Signal” or its own logo? That means the monitor has power and works — it’s just not receiving video.
- Does the PC turn off again after a few seconds? That’s a different problem — likely power or overheating shutting the system down before video initializes.
Fix 1: Check the Monitor Itself
It sounds almost insulting, but this fixes a remarkable number of cases:
- Is the monitor powered on? Look for its power LED. Press the monitor’s power button firmly — it’s separate from the PC’s.
- Is it set to the right input? Use the monitor’s menu buttons to cycle through inputs (HDMI 1, HDMI 2, DisplayPort). Monitors don’t always auto-switch.
- Check brightness. If brightness got cranked to zero, the screen looks dead. Open the monitor’s on-screen menu and verify.
- Try the monitor’s built-in menu. If the OSD (on-screen display) appears, the panel works — the issue is the signal coming in.
Fix 2: Inspect Every Cable
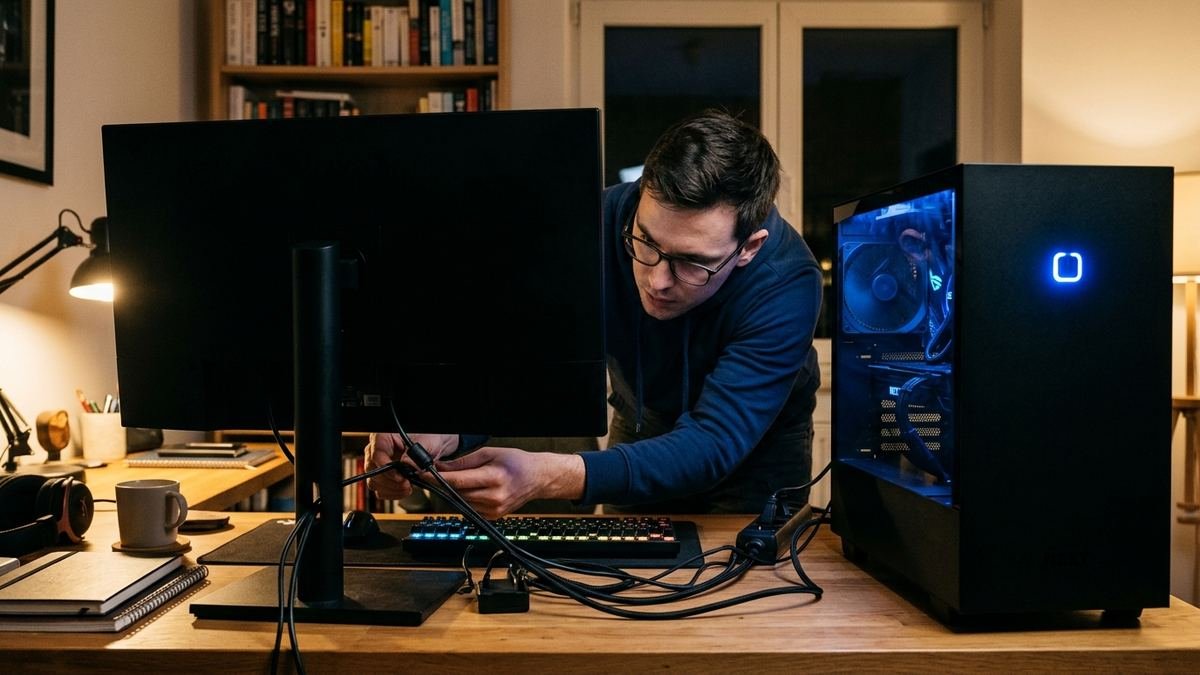
- Push both ends of the video cable firmly in — at the PC and at the monitor. Cables work loose over time, especially with heavy DisplayPort connectors.
- Plug the cable into the right port. This is the #1 “no display” mistake on desktops with a dedicated graphics card: the monitor must connect to the graphics card’s ports (lower on the back panel), not the motherboard’s ports (upper area). Motherboard video outputs are dead when a dedicated GPU is installed on most systems.
- Try a different cable, and if possible a different port type (HDMI vs. DisplayPort).
- Inspect for bent pins or damaged connectors.
Fix 3: Test with a Different Display
Connect your PC to a TV or another monitor. If you get a picture, your original monitor or cable is the problem — not the PC. For laptops, this test is even more valuable: connect an external monitor, then press Win + P and select Duplicate. If the external display works, your laptop’s built-in panel or its ribbon cable is the issue.
Fix 4: Perform a Hard Reset (Drain Residual Power)
Stuck power states cause more black screens than people expect:
If the hard reset reveals a dead battery, the next step is a swap — our HP laptop battery replacement walkthrough covers the whole process.
- Hold the power button until the PC fully shuts off.
- Unplug the power cable from the wall.
- Press and hold the power button for 15–20 seconds to drain residual charge.
- Reconnect power and boot.
On laptops, also remove the battery if it’s removable. This clears corrupted low-power states that can prevent the display from initializing.
Fix 5: Disconnect All Peripherals
USB devices can stall the boot process before video initializes. Unplug everything non-essential: external drives, printers, USB hubs, webcams, even the keyboard and mouse temporarily. Then boot with only the monitor connected. If the display returns, reconnect devices one at a time to find the offender. Wireless display adapters and docks are frequent culprits on laptops. If your network connection is also misbehaving once everything is reconnected, see our guide on why your computer won’t connect to Wi-Fi.
Fix 6: Reseat the RAM
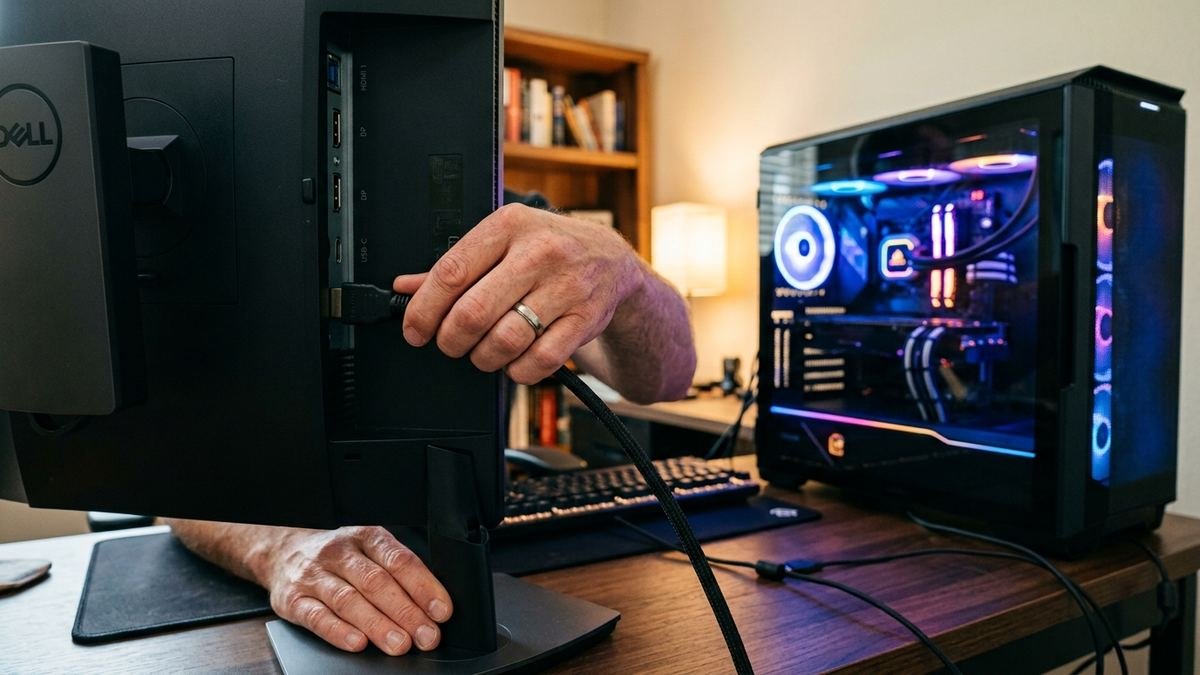
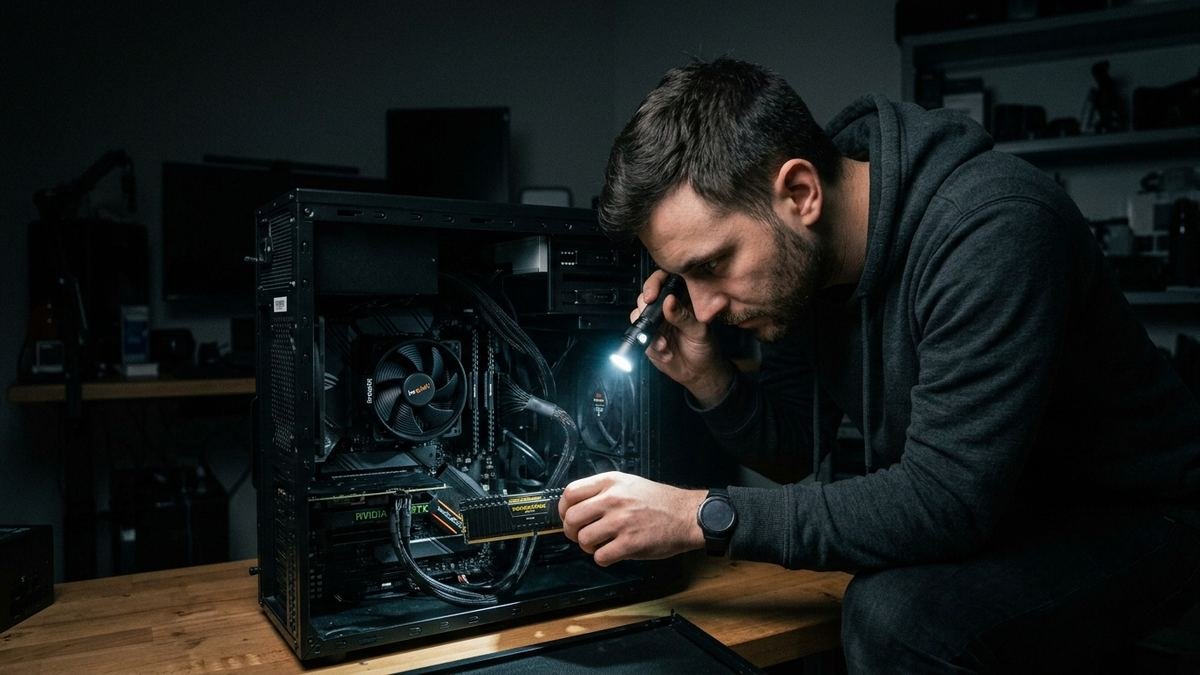
Badly seated or dusty RAM is one of the most common hardware causes of a black screen. The PC powers on, fails its memory check silently, and never sends video.
- Power off, unplug, and open the case (desktops) — ground yourself first.
- Release the clips on each RAM slot and remove the sticks.
- Blow out dust, then firmly reseat each stick until the clips snap shut on their own.
- If you have multiple sticks, try booting with just one installed. Test each stick individually to identify a dead one.
- Try different slots — a bad slot produces the same symptom as bad RAM.
Fix 7: Reseat the Graphics Card
If you have a dedicated GPU:
- Power off and unplug. Remove the GPU from its PCIe slot.
- Check the slot and the card’s connector for dust or damage.
- Reseat it firmly until the retention clip engages, and reconnect all PCIe power cables from the power supply — a GPU with its power cables unplugged is a classic black-screen cause.
- If your CPU/motherboard has integrated graphics, remove the GPU entirely and connect the monitor to the motherboard output. If you get video, the dedicated GPU (or its slot) is the problem.
Fix 8: Reset the BIOS/CMOS
A corrupted or misconfigured BIOS can prevent display initialization entirely:
- Easy method: power off, unplug, and remove the small CMOS battery (coin cell) from the motherboard for 5 minutes, then reinsert it. This resets all BIOS settings to defaults.
- Jumper method: many boards have a CLEAR_CMOS jumper — check your manual.
- Button method: some modern boards have a rear CMOS reset button.
After resetting, the PC may take longer on first boot while it re-trains memory — that’s normal. If you can eventually reach the BIOS screen, use Load Optimized Defaults to be thorough.
Fix 9: Read the Debug LEDs and Beep Codes
Your motherboard is probably already telling you what’s wrong:
A solid yellow light on the motherboard almost always means a RAM problem — our guide explains the yellow light’s meaning and the fixes in order. yellow light on the motherboard: meaning and fixes
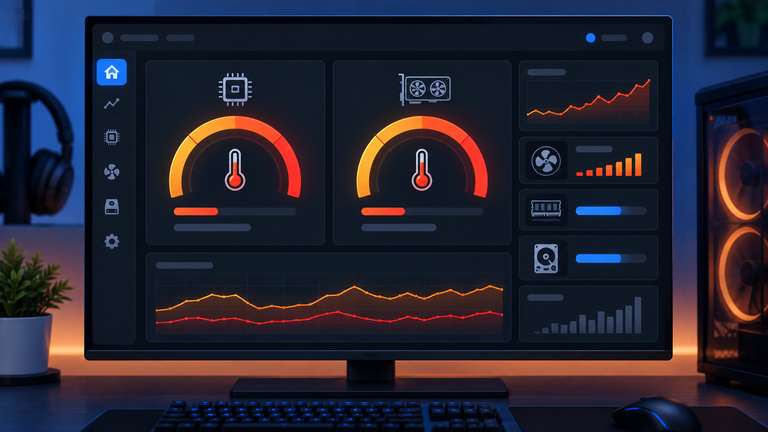
Debug LEDs (on many modern boards, labeled CPU / DRAM / VGA / BOOT): whichever LED stays lit indicates the failing component. DRAM lit? It’s RAM. VGA lit? It’s the graphics card.
Beep codes (if you have a case speaker): count the pattern — e.g., one long and two short often means a GPU issue on many boards, while repeating short beeps often point to RAM. Look up your specific motherboard model’s codes in its manual, since patterns vary by BIOS vendor (AMI, Award, Phoenix).
Fix 10: Boot into Safe Mode
If the hardware checks out, suspect software — especially a bad graphics driver. Safe Mode loads only essential drivers:
- Windows 11/10: force-interrupt the boot three times (hold power during the Windows logo) to reach Automatic Repair > Advanced options > Startup Settings > Safe Mode.
- If Safe Mode shows a display, the problem is almost certainly a driver or startup program.
In Safe Mode, open Device Manager > Display adapters, right-click your GPU, and try Update driver. If the problem started right after a driver update, choose Roll back driver instead. For a truly clean slate, use Display Driver Uninstaller (DDU) in Safe Mode to wipe the graphics driver completely, then install the latest version fresh from NVIDIA, AMD, or Intel.
Fix 11: Check for Windows Display Issues
Sometimes the PC boots fine but Windows itself mishandles the display — wrong refresh rate, a phantom second monitor, or HDR gone wrong. If you can get video via Safe Mode or an external display:
- Settings > System > Display: verify the correct monitor is primary and the resolution/refresh rate are sane.
- Press Win + Ctrl + Shift + B to restart the graphics driver instantly — the screen will blink, and this alone fixes many “black screen after login” cases.
- Check Windows Update for pending updates; display bugs are frequently patched.
- Our dedicated guide to Windows 10 display issues covers resolution, scaling, and multi-monitor problems in depth.
Fix 12: Strip Down to Minimal Hardware
When nothing else works, isolate ruthlessly — this is the method professional repair techs use:
- Disconnect all drives (SATA and NVMe), all USB devices, and any add-in cards except the GPU.
- Leave only: motherboard, CPU + cooler, one RAM stick, GPU (or integrated graphics), and power.
- Boot. You should reach the BIOS or a “no boot device” message — which proves the core hardware works.
- Reconnect components one at a time, booting after each. The component that kills the display is your culprit.
Laptop-Specific Notes
- Brightness keys: press your brightness-up key several times — on some laptops the backlight can be off while the panel works.
- Lid sensor: a stuck lid sensor makes the laptop think it’s closed. Gently open/close the lid while watching for flickers.
- External monitor test (Fix 3) is the single most informative laptop diagnostic — do it early.
- Battery drain: on some laptops, hold the power button 30 seconds with the charger disconnected to reset the embedded controller.
When It’s a Hardware Failure
If the minimal-hardware test still gives no display, you’re likely looking at a dead component:
| Symptom | Likely culprit |
|---|---|
| No beeps, no LEDs, fans spin briefly then stop | Power supply or motherboard |
| DRAM debug LED lit with known-good RAM | Motherboard RAM slots |
| VGA LED lit, no output from integrated graphics either | Motherboard PCIe/motherboard itself |
| Burning smell or visible damage | Stop immediately — replace the damaged part |
A failing power supply can also produce intermittent no-display boots long before it dies completely. If the problem comes and goes, the PSU is a prime suspect.
Mistakes to Avoid
- Don’t assume the worst first. Cables and input sources cause most cases — check them before opening the case.
- Don’t reseat components with power connected. Unplug, always.
- Don’t ignore beep codes and LEDs. They’re free diagnostics — use them.
- Don’t flash the BIOS blindly as a first step. A failed BIOS flash with no display turns a fixable problem into a bricked board.
- Don’t forget the monitor’s own firmware. Some monitors need a factory reset from their OSD menu after a bad EDID handshake.
No Display After a Specific Event? Start Here
The trigger often narrows the cause instantly:
After a Windows or driver update: Boot into Safe Mode and roll back the graphics driver. Windows Update occasionally installs a GPU driver that conflicts with your hardware — the manufacturer’s own driver installer is the fix.
After installing a new GPU: Verify the card is fully seated, all PCIe power cables are connected (many cards need two), and your power supply has enough wattage for the new card. Also confirm the monitor is plugged into the new card, not the motherboard.
After moving the PC: Transport shakes components loose. Reseat the RAM and GPU — this resolves the majority of “worked before the move” cases.
After a power outage or surge: The PSU may be damaged, or the BIOS may have been corrupted. Try the CMOS reset (Fix 8) first; if the PC behaves erratically — random shutdowns, burning smells — replace the power supply before anything else. A surge protector or UPS prevents recurrence.
After cleaning the inside of the PC: Check that you didn’t accidentally unplug a power cable or dislodge the RAM while dusting. It happens to everyone.
Quick-Reference Checklist
Print this (or keep it on your phone) for the next time a screen goes black:
| # | Check | Time |
|---|---|---|
| 1 | Monitor powered on, correct input source | 30 sec |
| 2 | Cable firmly connected to the graphics card (not motherboard) | 1 min |
| 3 | Try a different cable / different display | 3 min |
| 4 | Hard reset: unplug, hold power 15–20 sec | 2 min |
| 5 | Disconnect all USB peripherals, reboot | 2 min |
| 6 | Reseat RAM (test one stick at a time) | 10 min |
| 7 | Reseat GPU, check PCIe power cables | 10 min |
| 8 | Reset CMOS / load BIOS defaults | 10 min |
| 9 | Read debug LEDs / beep codes | 2 min |
| 10 | Safe Mode → roll back or clean-install GPU driver | 20 min |
| 11 | Win + Ctrl + Shift + B (restart graphics driver) | 10 sec |
| 12 | Minimal-hardware strip-down test | 30 min |
Frequently Asked Questions
Why does my PC turn on but the monitor says “No Signal”?
“No Signal” means the monitor works but receives no video. Check the cable connections, verify you’re plugged into the graphics card (not the motherboard) on desktops, confirm the correct input source, and try a different cable.
Can bad RAM cause no display?
Yes — it’s one of the most common causes. A PC that fails its memory check often powers on with fans spinning but never initializes video. Reseating RAM or testing sticks individually resolves it.
How do I know if my GPU is dead?
Test with integrated graphics (remove the GPU, use motherboard output). If integrated graphics work but the dedicated GPU produces nothing in any slot, the card has likely failed. The VGA debug LED staying lit also points to the GPU.
My PC shows display in BIOS but not in Windows — what’s wrong?
That’s a software problem, almost always the graphics driver or a Windows display setting. Boot into Safe Mode, roll back or clean-install the GPU driver, and check display settings.
Could a virus cause no display?
It’s rare, but malware can corrupt boot components or drivers. If you suspect infection alongside other strange behavior, our guide on computer worms explains how deep malware issues get diagnosed. Hardware causes are far more likely for a pure no-display symptom, though.
Should I replace the CMOS battery?
If your PC is several years old and also forgets the time/date or loses BIOS settings, yes — a dead CR2032 battery causes exactly those symptoms and can contribute to boot issues. It’s a cheap, easy replacement.
Final Thoughts
A computer that turns on with no display feels catastrophic, but the fix is usually unglamorous: a cable, an input setting, a RAM stick, or a driver. Work through these 12 fixes in order — resisting the urge to skip the “too simple” ones — and you’ll resolve the overwhelming majority of cases without spending a cent.
If you’ve isolated it to a genuinely dead component, at least you’ll know exactly which part to replace instead of guessing. And for the software side of display troubles, Microsoft Support and the Windows documentation remain the authoritative references.