SFM Compile: How to Render & Export Movies in Source Filmmaker
You’ve finished animating your scene in Source Filmmaker — the cameras move, the lighting looks right, the characters hit their marks. Now comes the step that turns your project into something you can actually share: the SFM compile. In Source Filmmaker terms, “compiling” means rendering your timeline into finished output — a video file or an image sequence — with final lighting, anti-aliasing, and effects applied.
Get this step wrong and your masterpiece comes out choppy, washed out, or missing textures. Get it right and your work looks genuinely cinematic. This guide walks through the entire SFM compile process: preparation, render settings, the step-by-step export, advanced techniques, and fixes for every common error.
What “SFM Compile” Actually Means
Source Filmmaker (SFM) is Valve’s free 3D animation tool, available on Steam, built on the Source engine — the same technology behind Team Fortress 2 and Half-Life 2. When you work in SFM, you’re manipulating a live 3D viewport. That viewport is a preview: it doesn’t show final lighting quality, full anti-aliasing, or post effects at their best.
Compiling (rendering/exporting) is the process where SFM:
- Calculates final lighting and shadows for every frame
- Applies full anti-aliasing, motion blur, and depth of field
- Writes each frame out as images or encodes them into a video file
Think of it like developing a photograph: the viewport is the negative, the compile is the print. Whether you’re uploading to YouTube or feeding clips into a larger edit, compiling is the final gate between your project and your audience.
Before You Compile: The Preparation Checklist
Most compile failures trace back to sloppy preparation, not bad settings. Run through this checklist before you touch the export dialog:
- Lock your animation. Scrub the full timeline and confirm every shot’s animation, camera work, and lighting are final. Re-rendering because you spotted a floating prop is painful.
- Verify all assets are loaded. Missing models or textures won’t always scream at you in the viewport but will show up as errors (or pink-and-black checkered surfaces) in the render. Open the console with the
~key and look for missing-dependency warnings. - Organize shots in the Shot Editor. Split your sequence into clean shots with proper names. This makes selective re-rendering possible later.
- Sync your audio. Use WAV files for sound — SFM handles them most reliably. Confirm dialogue and effects line up on the timeline now, because audio sync is much harder to fix after export.
- Check disk space. Uncompressed image sequences are enormous (a minute of 1080p TGA frames can exceed 10 GB). Make sure your output drive has room.
- Save a backup of your session. Save your
.dmxsession file under a new name before a big render. If SFM crashes mid-compile, you’ll be glad you did.
Render Settings Explained
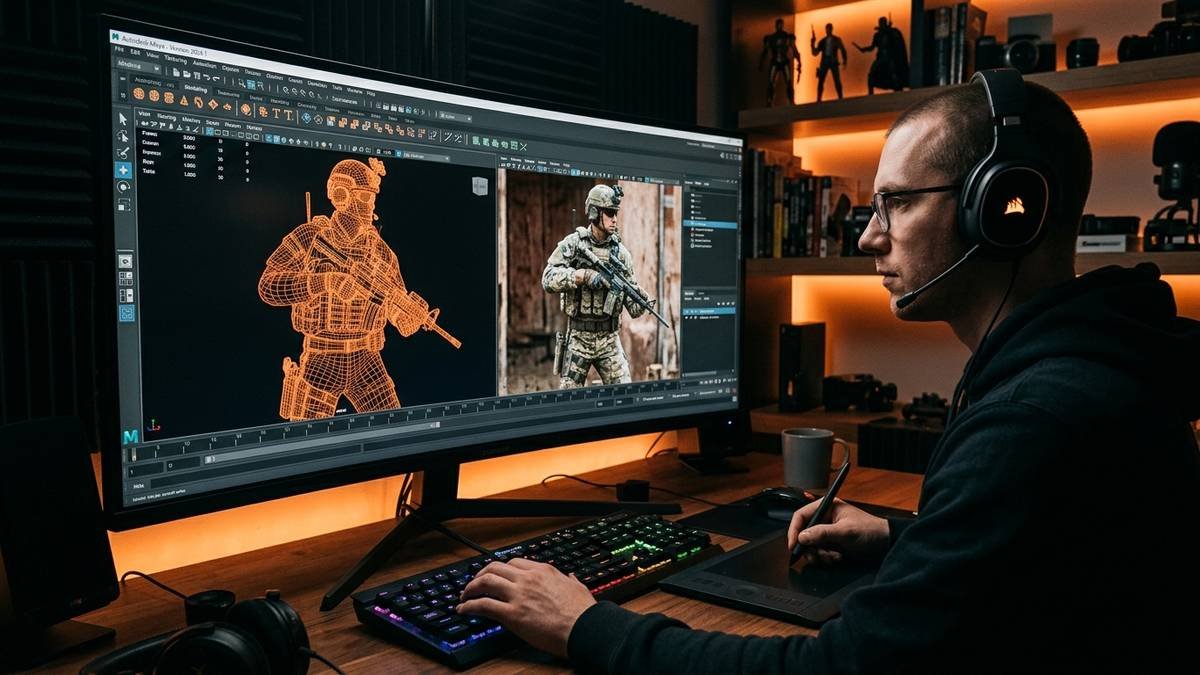
The export dialog (File > Export > Movie) presents several groups of settings. Here’s what each one does and what to choose:
| Setting | What it does | Recommended value |
|---|---|---|
| Resolution | Output frame size | 1920×1080 (1080p) for YouTube; 3840×2160 for 4K |
| Frame rate | Frames per second | 24 fps (cinematic) or 30 fps (standard); 60 fps for ultra-smooth |
| Anti-aliasing | Smooths jagged edges | 8x MSAA minimum for final output |
| Motion blur | Simulates real camera blur on movement | Enabled for realism (increases render time) |
| Depth of field | Camera focus falloff | Enabled for cinematic shots |
| Ambient occlusion | Soft contact shadows | Enabled if your GPU handles it |
| Output format | How frames are written | Image sequence (TGA/PNG) for quality; AVI for quick drafts |
Resolution guidance: 1080p remains the sweet spot for most creators — YouTube-friendly file sizes with plenty of detail. 4K is possible but quadruples render time and storage; reserve it for hero shots or short sequences unless you have a powerful rig.
Frame rate guidance: 24 fps gives the classic film look; 30 fps is the safe standard for online video; 60 fps suits fast action but doubles your frame count (and render time) versus 30.
Image Sequence vs. Movie File: Which to Choose
SFM offers two fundamentally different compile outputs. Understanding the trade-off is the single most impactful decision in this guide.
| Image Sequence | Movie File (AVI) | |
|---|---|---|
| Formats | .TGA, .PNG, .JPG per frame | .AVI (various codecs) |
| Quality | Lossless (TGA/PNG), maximum | Compressed, quality loss |
| Crash recovery | Excellent — resume from last frame | Poor — a crash can corrupt the whole file |
| File management | Thousands of files, huge total size | Single file, manageable size |
| Post-production | Ideal — grade/edit frames in external tools | Limited |
| Best for | Final releases, YouTube uploads, professional work | Quick previews, drafts, sharing work-in-progress |
The professional consensus is unambiguous: always export image sequences for anything you care about. TGA is the traditional choice for maximum quality; PNG offers a good balance of quality and file size. Render crashes are a fact of life with long sequences — with an image sequence you simply restart from the failed frame instead of losing everything.
You’ll assemble the sequence into a video afterward with FFmpeg, DaVinci Resolve, Premiere Pro, or even the free HandBrake. That extra step is worth it every time.
Step-by-Step: How to Compile in SFM
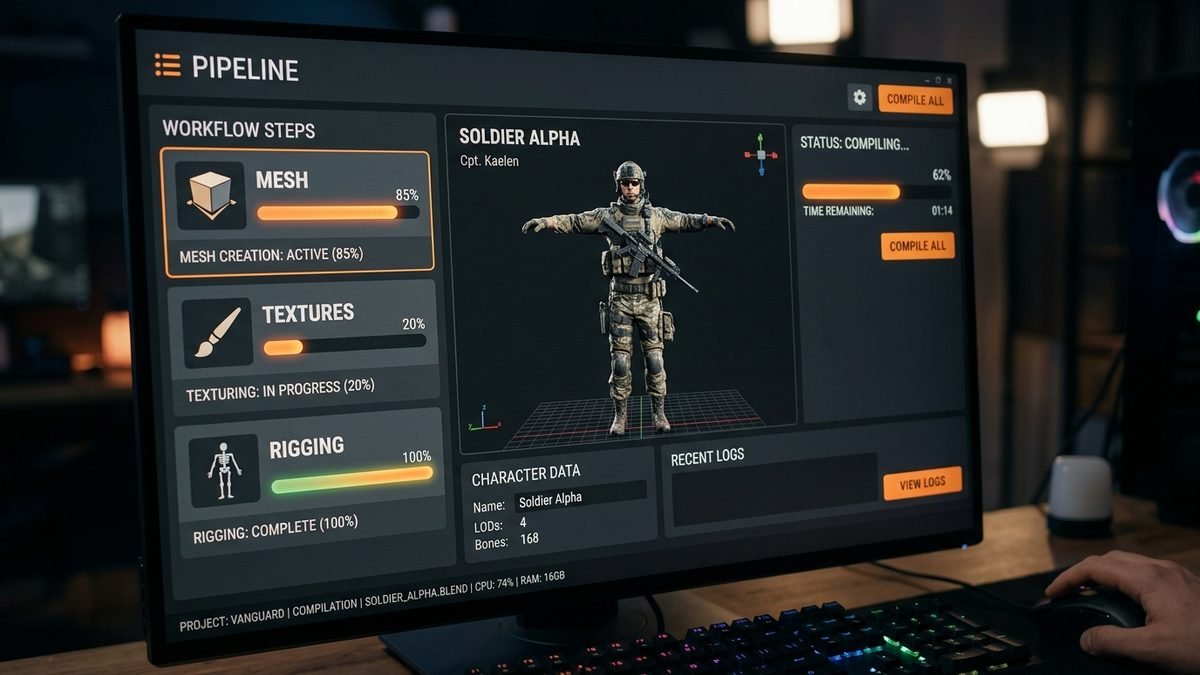
Step 1: Set Your Cameras
Confirm the correct camera is active for each shot. SFM renders from the shot camera (or the Work Camera if none is assigned). A wrong-camera render is the most common “black/blank output” cause — verify before exporting.
Step 2: Open the Export Dialog
Go to File > Export > Movie…. This opens the render settings window where you’ll configure everything below.
Step 3: Choose Your Output Format
- For final quality: select Image Sequence and pick TGA (best) or PNG (smaller files, still excellent).
- For a quick draft: select Movie File (AVI) with a reasonable codec.
Step 4: Configure Render Settings
Set resolution (1920×1080), frame rate (24 or 30 fps), and anti-aliasing (8x). Enable motion blur and depth of field if your scene benefits and your hardware can handle the render time. Switch lighting to final-render quality — viewport lighting is a preview and will look flat or wrong in output.
Step 5: Set the Frame Range
Choose whether to render the entire timeline or a custom frame range. For long projects, render in shot-sized chunks: it’s easier to re-render one bad shot than an entire film, and crashes lose less progress.
Step 6: Choose Your Output Folder
Pick a dedicated folder on a drive with plenty of free space. Use clear naming (e.g., MyFilm_1080p_TGA/) — you’ll thank yourself when assembling hundreds of frames later.
Step 7: Export and Wait
Click Export. Render time depends on scene complexity, resolution, and effects: simple scenes take minutes; heavy scenes with volumetrics, DOF, and 8x AA can take hours. Don’t run heavy background tasks during the render — SFM is CPU/GPU hungry and contention causes crashes.
Step 8: Assemble the Image Sequence Into Video
If you exported an image sequence (recommended), convert it with FFmpeg:
ffmpeg -framerate 30 -i frame_%04d.tga -c:v libx264 -crf 18 -pix_fmt yuv420p output.mp4
This takes your numbered frames (frame_0001.tga, frame_0002.tga, …) and encodes a high-quality 30 fps H.264 MP4. The -crf 18 value balances quality and size (lower = better quality, larger file; 18–23 is the sweet spot). A matching WAV of your audio can be muxed in with -i audio.wav -c:a aac.
Free alternatives: import the sequence into DaVinci Resolve (free tier) or use HandBrake for simpler encoding jobs.
Advanced Rendering Techniques
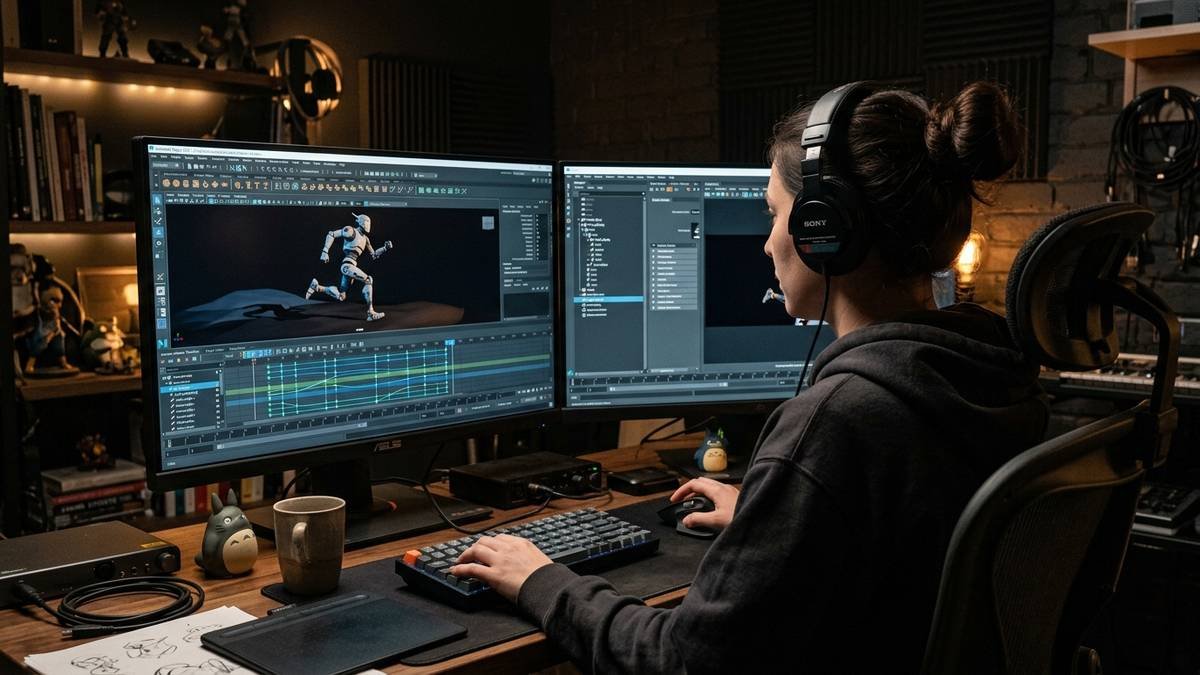
Once the basics are solid, these techniques separate amateur-looking output from genuinely cinematic work:
Super Sample Anti-Aliasing (SSAA)
SSAA renders each frame at a higher internal resolution and downsamples, producing dramatically smoother edges than standard MSAA. The visual difference on fine geometry (hair, wires, foliage) is striking — but render times can multiply several-fold. Use it for hero shots and posters; use 8x MSAA for bulk sequences.
Motion Blur and Depth of Field
Both mimic real camera behavior. Motion blur sells fast movement (a punch, a camera whip-pan) that looks stroby without it. Depth of field focuses attention — a sharp character against a soft background instantly looks more “filmed.” Both are natively supported in SFM but need per-shot tuning: too much DOF turns backgrounds to mush; too little motion blur looks cheap.
Poster Mode Renders
For thumbnails and promotional art, SFM’s poster-style high-quality still rendering (maximum AA, full effects, single frame) produces images far beyond what a screen capture gives you. Many creators render posters at 4K even when the film is 1080p.
Color Grading in Post
SFM’s built-in color controls are limited — and that’s fine, because image sequences give you the ideal source for external grading. Import your TGA/PNG sequence into DaVinci Resolve (free) and apply proper color correction: contrast curves, teal-and-orange splits, film grain. This single post step does more for “cinematic” feel than any in-SFM tweak.
Common SFM Compile Errors and Fixes
| Problem | Likely cause | Fix |
|---|---|---|
| SFM crashes mid-render | RAM exhaustion, overly aggressive settings | Lower AA/SSAA, close background apps, render in shorter segments |
| Black or blank output | Wrong camera active, lights disabled | Verify shot camera assignment; ensure lights are enabled, not just viewport-visible |
| Missing textures (pink/black checkerboards) | Broken asset paths | Check console (~) for missing files; re-mount content or fix paths |
| Lighting looks different from viewport | Viewport uses preview lighting | Always judge lighting from test renders, never the viewport alone |
| Audio out of sync | Frame rate mismatch | Confirm timeline, export, and assembly all use the same fps; sync in external editor |
| Output file enormous | Uncompressed AVI or TGA | Expected for intermediates — compress with FFmpeg (-crf 18–23) for delivery |
| Render freezes at a specific frame | Corrupt asset or effect on that frame | Render around it to isolate; check that frame’s models/particles |
| Flickering lights in output | Lightmap/preview inconsistencies | Re-bake lighting if applicable; test with final render settings early |
The golden rule of troubleshooting: never do your first full-quality render on the entire project. Render a 50-frame test of your most complex shot at final settings first. Catching a lighting or texture problem on a 2-minute test beats discovering it 6 hours into a full render.
Tips for Faster, Better Compiles
- Render overnight or while away. Long compiles and active computer use don’t mix.
- Draft in low quality, finish in high. Do timing and composition checks with fast low-AA AVI exports; reserve full-quality image sequences for the final pass.
- Keep drivers updated. GPU driver updates periodically fix SFM rendering quirks — and occasionally introduce them, so note what changed if a previously working setup breaks.
- Use a scratch SSD. Writing thousands of TGA files to a slow HDD bottlenecks the render; an SSD scratch disk helps noticeably.
- Version your session files.
film_v01.dmx,film_v02.dmx— when a render reveals a problem, you want to roll back cleanly. - Learn the console. The
~console is your diagnostic window for missing assets, errors, and performance info. Creators who ignore it debug blind.
If you’re building a broader creative pipeline around SFM — say, AI-assisted scripting or voice work — our ChatGPT vs Copilot comparison can help you pick the right AI assistant for writing and planning, and our how-to-use-Grok-AI guide covers another powerful creative tool. And for a look at where real-time rendering technology is heading, see our roundup of the latest quantum computing breakthroughs — the compute advances behind tomorrow’s render farms.
Compiling Stills: Posters and Thumbnails
Not every compile is a movie. SFM’s high-quality still rendering is perfect for YouTube thumbnails, posters, and portfolio pieces — and it’s far more forgiving than video: a single frame means you can max out every setting (SSAA, 4K, full effects) without worrying about multi-hour renders. Compose your shot, light it carefully, and export one frame at maximum quality. Many creators render their thumbnails at 4K even when the video itself is 1080p, since the extra detail survives YouTube’s compression better.
Frequently Asked Questions
What does “compile” mean in Source Filmmaker?
In SFM, compiling means rendering your animated timeline into finished output — either a video file or a sequence of images — with final lighting, anti-aliasing, and effects applied. It’s accessed via File > Export > Movie.
Is Source Filmmaker free?
Yes. Source Filmmaker is completely free on Steam. You just need a Steam account and a Windows PC that meets the requirements.
Should I export as an image sequence or AVI?
Image sequence (TGA or PNG), almost always. It’s lossless, survives crashes (resume from the last good frame), and gives you maximum flexibility in post-production. AVI is fine only for quick drafts and previews.
Why does my SFM render look different from the viewport?
The viewport uses preview-quality lighting and effects for interactivity. Final renders compute full-quality lighting, shadows, and post effects. Always judge your lighting from test renders, not the viewport.
How long does an SFM compile take?
Anywhere from minutes to many hours. A simple 30-second 1080p scene might render in 10–20 minutes; a complex 5-minute short with 8x AA, motion blur, and depth of field can take 6+ hours. Resolution, effects, and hardware are the main variables.
Why does SFM crash when rendering?
The most common causes are running out of RAM (lower AA settings, close other programs), insufficient disk space (image sequences are huge), or a corrupt asset on a specific frame (render in segments to isolate it).
How do I turn my image sequence into a YouTube-ready video?
Use FFmpeg (free): ffmpeg -framerate 30 -i frame_%04d.tga -c:v libx264 -crf 18 -pix_fmt yuv420p output.mp4, then mux your audio. Or import the sequence into DaVinci Resolve or Premiere Pro. See FFmpeg’s official documentation for all encoding options.
Can I render in 4K with SFM?
Yes — set a custom resolution of 3840×2160 in the export dialog. Be warned: 4K quadruples pixel count versus 1080p, so expect roughly 4x the render time and storage. Most creators stick to 1080p for full projects and use 4K for posters and hero shots.
The Bottom Line
SFM compile is where your animation becomes a movie, and the core workflow is simple: prepare your scene, open File > Export > Movie, choose an image sequence at 1080p with solid anti-aliasing, render in manageable chunks, and assemble with FFmpeg. The refinements — SSAA for hero shots, motion blur and depth of field for cinematic feel, external color grading — are what elevate good output to great.
Start with a short test render at final settings before committing to a full compile, keep your session files versioned, and never let a crash cost you more than one segment’s worth of work. Your audience will never know how the sausage was made — they’ll just see the film.